프로젝트 외부에 업로드한 파일 불러오기
import java.util.Arrays;
import java.util.stream.Collectors;
import org.springframework.beans.factory.annotation.Value;
import org.springframework.context.annotation.Bean;
import org.springframework.context.annotation.Configuration;
import org.springframework.http.HttpMethod;
import org.springframework.http.converter.json.MappingJackson2HttpMessageConverter;
import org.springframework.web.servlet.config.annotation.CorsRegistry;
import org.springframework.web.servlet.config.annotation.ResourceHandlerRegistry;
import org.springframework.web.servlet.config.annotation.WebMvcConfigurer;
import org.springframework.web.servlet.resource.PathResourceResolver;
import lombok.RequiredArgsConstructor;

/******************************************************************
 * <pre>
 * <b>Description  : WebMvc 설정</b>
 * <b>Project Name : </b>
 * package  : com.***.config
 *******************************************************************/

@Configuration
@RequiredArgsConstructor
public class WebConfig implements WebMvcConfigurer {

	private final ConfigProperty configProperty;

	/**
	 * application.yml - 파일저장경로 참조
	 */
	@Value("${spring.servlet.multipart.location}")
	private String uploadImagePath;


	@Override
	public void addResourceHandlers(ResourceHandlerRegistry registry) {

		registry.addResourceHandler("/js/**")
				.addResourceLocations("classpath:/static/js/");
		registry.addResourceHandler("/css/**")
				.addResourceLocations("classpath:/static/css/");
		registry.addResourceHandler("/img/**")
				.addResourceLocations("classpath:/static/img/");
		registry.addResourceHandler("/fonts/**")
				.addResourceLocations("classpath:/static/fonts/");
		registry.addResourceHandler("/data/**")
				.addResourceLocations("classpath:/static/data/");
		registry.addResourceHandler("/")
				.addResourceLocations("classpath:/static/index.html");

		// 업로드 이미지용 외부 폴더 추가
		registry.addResourceHandler("/upload/**")
		  .addResourceLocations("file:///"+uploadImagePath)    // 웹에서 이미지 호출시 'file:///' 설정됨
          .setCachePeriod(3600)
		  .resourceChain(true)
          .addResolver(new PathResourceResolver());


	}

	@Bean
	public MappingJackson2HttpMessageConverter jackson2HttpMessageConverter() {
		MappingJackson2HttpMessageConverter converter = new MappingJackson2HttpMessageConverter();
		converter.setDefaultCharset(Constants.DEFAULT_SERVER_STANDARD_CHARSET);
		return converter;
	}

	@Override
	public void addCorsMappings(CorsRegistry registry) {
		if (configProperty.isLocalProfiles()) {
			registry.addMapping("/**").allowedOrigins("*")
					.allowedMethods(Arrays.asList(HttpMethod.values()).stream()
							.map(method -> method.name())
							.collect(Collectors.toList()).stream()
							.toArray(size -> new String[size]))
					.allowCredentials(false).maxAge(3600);
		}
	}
}
# default properties
spring:
  application:
    name: "indiman"
  profiles:
    active: local
  servlet:    #파일 업로드 추가
    multipart:
      file-size-threshold: 1MB
      # 아래중에 본인 환경에 맞춰서 하자. (외부경로)
      # location: /var/inde/uploads/                #ex > linux Server 777
      # location: C:/inde/workspace/inde/uploads/   #ex > local
      max-file-size: 100MB
      max-request-size: 100MB
# 화면
<img src="/upload/IM004/1586857683470.jpg"/>
<img v-bind:src="dbInfo.urlInfo" />
<img v-bind:src="'/upload/' + dbInfo.fileinfo" />
개발용 Vue로컬서버 에서는 # WebConfig.java 적용이 안된다 반드시 빌드후 개발용 서버주소에서 활용하자.
'Vue.js' 카테고리의 다른 글
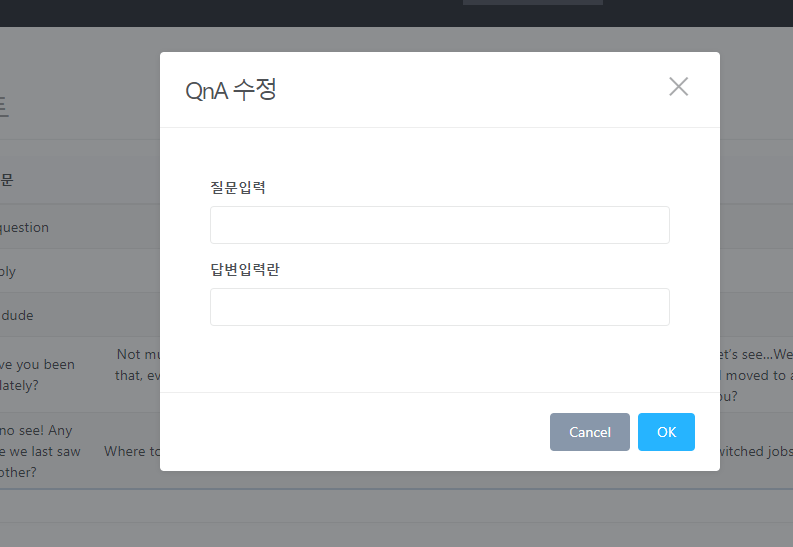
| Vue.js 모달 팝업 간단하게 (0) | 2020.04.02 |
|---|---|
| SpringBoot&Vue.js 이미지 업로드 , 저장한 이미지 불러오기 (0) | 2020.03.30 |